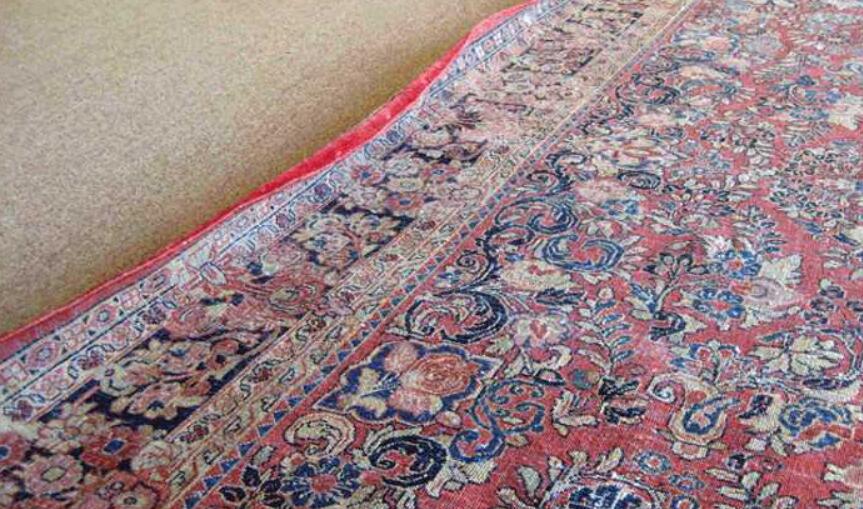
Do you have a rug that has some pesky creases in it? Well, don’t worry – we have a solution for you! In this blog post, we will teach you how to remove creases from rugs with a steam mop. This is a great way to get your rug looking new again without having to spend any money. All you need is a steam mop and a little bit of elbow grease!
It is annoying that your get your new rug but find out it is not flat, but have some creases in it. These annoying creases can make your rug look old and worn out, even if it is brand new. The good news is that you do not need to buy a new rug or pay for professional carpet cleaning services – all you need is a steam mop!
Why You Should Use A Steam Mop To Remove Creases From Your Rug?
A steam mop is an effective way to remove any creases or wrinkles from your rug. Steam helps to relax the fabric’s fibers, allowing it to lay flat again.
It also has a deodorizing effect, so if there are any unpleasant smells coming from the rug, they will be removed as well. The steam mop is a versatile tool that can be used on a variety of different surfaces.
In addition to rugs, it can also be used on hardwood floors, tile, and linoleum. It is a safe and effective way to clean your home without the use of harsh chemicals.
How to Remove Creases from Rugs with a Steam Mop?
There’s an easy solution: steam them! Here’s how:
1. Vacuuming your rug thoroughly is important to remove any dirt or debris before steaming it. This will help to prevent wrinkles on the carpet. Be sure to go over the entire surface area of the rug, paying special attention to any high traffic areas.
2. Fill your steam mop’s water tank with hot water.
The hot water in the tank heats up the fabric of the carpet, causing the fibers to relax and straighten out. The steam also helps to loosen any dirt or debris that may be caught in the fibers, making it easier to vacuum up.
To get the best results, be sure to fill your steam mop’s water tank with hot water. The hotter the water, the better, so that you can get those creases out quickly and easily.
3. Plug in the steam mop and wait for it to heat up. This usually only takes a minute or two.
4. Begin steaming the rug, starting from one corner and working your way across. Be sure to move the steam mop slowly and steadily, so that the heat can penetrate the fabric evenly.
Be sure to go over each area multiple times to ensure that the heat is penetrating the fabric evenly. Once you have gone over the entire rug, allow it to air dry for several hours before using it again.
5. Continue steaming the rug until all of the creases have been removed. Depending on how many creases you have and how big your rug is, this could take anywhere from five to thirty minutes.
6. Allow the rug to cool completely before vacuuming it again. This will help to fluff up the fibers and give your rug back its original shape.
And there you have it! A wrinkle-free rug without having to leave your house or spend a lot of money.
Tips And Tricks For Getting The Best Results
1. Make sure the steam mop is set to the correct temperature and pressure settings. Different surfaces require different amounts of heat and pressure, so be sure to read your steam mop’s manual for more information.
2. Work slowly and steadily when steaming the rug – this will ensure that all areas are treated evenly.
3. Don’t oversteam the rug – too much heat can damage the fibers and make your rug look worse than it did before.
4. Allow the rug to cool completely before vacuuming again – this will help to fluff up the fibers and give your rug back its original shape.
Conclusion:
No one likes dealing with wrinkled rugs, but thankfully there’s an easy solution: steam them! By following these simple steps, you can remove creases from your rugs quickly and easily, without having to leave your house or spend a lot of money. So next time your rugs start looking a little worse for wear, break out the steam mop and give them new life!

